How to Declutter Your Kitchen Drawers in One Afternoon
Empty, sort, assign, and divide. A plan for tackling utensils, linens, and the junk drawer without turning the whole kitchen upside down.
Disclosure: Some product links on this site may earn us a commission. Read our affiliate disclosure.
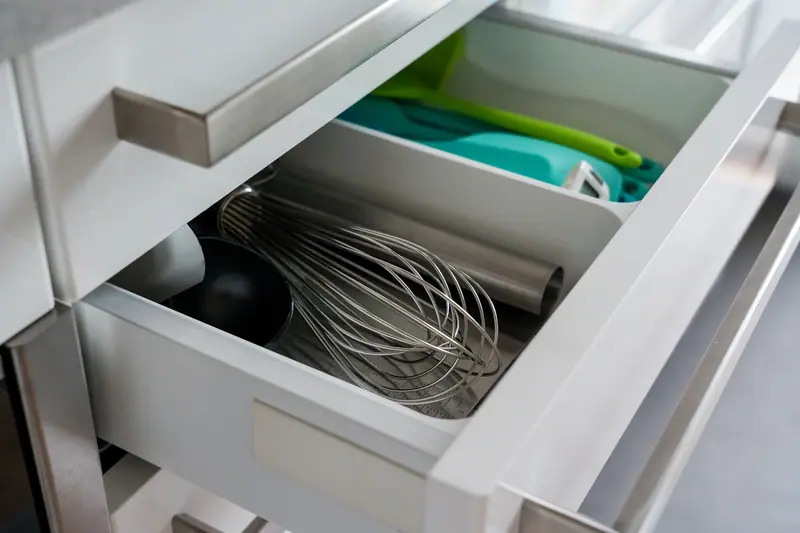
Kitchen drawers fail quietly. One extra spatula, a stack of takeout menus, three vegetable peelers, and suddenly the drawer sticks and nobody can find the can opener.
Clearing them is a contained job: small spaces, obvious decisions, and a visible result. Depending on how many drawers you have, plan on two to four hours.
What you’ll need
- Towels to lay out what you remove
- A trash bag and a donation box
- A tape measure
- Small boxes, jars, or containers you already have
- A damp cloth and a little mild soap
The afternoon plan
| Time | Task |
|---|---|
| First 20 minutes | Decide how each drawer will be used |
| Next hour | Empty, sort, and edit |
| Next 30 minutes | Clean and measure |
| Last hour | Divide and refill; tackle the junk drawer |
Step 1: Assign each drawer a job
Think about where you actually stand when you need things.
- Near the stove: spatulas, tongs, wooden spoons, potholders
- Near the prep area: knives (safely stored), peelers, measuring tools
- Near the sink or dishwasher: flatware, dish towels
- Near the table: napkins, placemats
- Farthest away: wraps, foil, bags, and the things you use less often
Step 2: Empty one drawer at a time
Take out everything and lay it on a towel. Doing a single drawer at a time means that you can stop and still have a working kitchen.
Step 3: Sort and edit
Group like with like. Then be honest about what’s there.
Candidates for leaving
- Duplicates you don’t use (keep the better one)
- Broken, melted, or peeling utensils
- Single-use gadgets you haven’t touched in a year
- Takeout menus and condiment packets
- Dead batteries and mystery keys
- Rusty cookie cutters and worn-out peelers
Items in good condition can be donated, if local charities accept them. Dead batteries shouldn’t go in the regular trash in many places, so check your local rules for disposal.
Step 4: Clean and measure
Vacuum out crumbs, wipe with a damp, soapy cloth, and let the drawer dry fully. Then measure its width, depth, and especially its height, since a tall organizer can stop a drawer from closing.
Step 5: Divide it
Without dividers, everything drifts to the back. You probably have free options around the house:
- Shoe box lids or small cardboard boxes, cut to fit
- Clean glass jars for tall tools (in a deep drawer, kept from rolling)
- Small plastic food containers that have lost their lids
Put what you use most at the front. Keep similar tools together, and place long items lengthwise along the side.
Step 6: Take on the junk drawer
Everyone has one, and that’s fine. A useful junk drawer has a purpose, so give it one.
- Empty it completely. Throw out what doesn’t work.
- Rehome what belongs elsewhere. Tools go with tools, and receipts go in your files.
- Limit the categories. Tape, scissors, a few pens, a flashlight, spare keys, and a tape measure might be plenty.
- Divide and label. Small boxes keep those categories apart.
How to keep them clear
- Return things to the same section every time
- Follow the one in, one out rule for gadgets
- Do a quick check of a single drawer each month
- Put drawers on your counter-clearing routine, since they often take the overflow
Frequently asked questions
Where should I keep kitchen knives?
In a block, a mounted magnetic strip, or an in-drawer holder, not loose in a drawer. Keep them out of reach if there are young children in the home.
How many utensils do I really need?
It depends on how you cook. If you’ve got several versions of one tool, keep the one you reach for and reconsider the others.
What’s the best way to stop the junk drawer from coming back?
Give it a defined list of contents and clear it out briefly once a month or so. Junk drawers rarely get bad overnight.
This guide is general information. Your home, appliances, and products may differ, so follow manufacturer instructions and product labels. Spot an error? Tell us, or read our Editorial Policy.